Tutorial 7
Tutorial 7
Adding long text descriptions
Long-form texts such as artist statements, publication descriptions, biographical or historical narratives cannot be added directly in the Item pages for publications, people or organisations in the database. These have to be recorded via separate pages in dedicated sections of the database. Descriptions are added in the “Description” section of the database; biographies in the “Biography” section, etc. These sections are called “Namespaces” in Wikibase and are easily accessible via the Main Page, as shown in Step 3 below.
There are no limits with regards to the brevity or length of these texts, but there are a few very specific steps needed to link a publication to its description, or a person to their biography. This linking requires the creation of an Item (Steps 1–2) in the database to hold the link to the text itself, and any metadata related to the text such as: who wrote the text, when, what is the original source, etc (Steps 7–8). Then the text itself needs to be added to a separate text page (Steps 3–6). Finally the Item page for the descriptive text is linked back to the original Item page of the publication (Step 9). This may seem like a complex process, but it does allow maximum flexibility for handling both sophisticated metadata (that is machine-readable and searchable via advanced search), as well as long natural language text (which remains readable only to people, not machines, but can still be searched for keywords).
Steps 1–9 are specific to adding descriptions for publications, but you can follow the same steps to add biographies for people by using the appropriate namespace and the Property “biography” instead of “description” in Step 9. You can also follow the same steps to add anecdotal histories around the exhibition or distribution history of publications, by using the appropriate namespace and the Property “distribution and exhibition history” instead of “description” in Step 9.
Step 1
To add a long-form description to your Item page, navigate to the Create a new Item page using this link.
Alternatively, find the Create new item button on the sidebar at the left edge, or under the heading ‘Adding new data in the archive’ on the Main Page.
Step 2
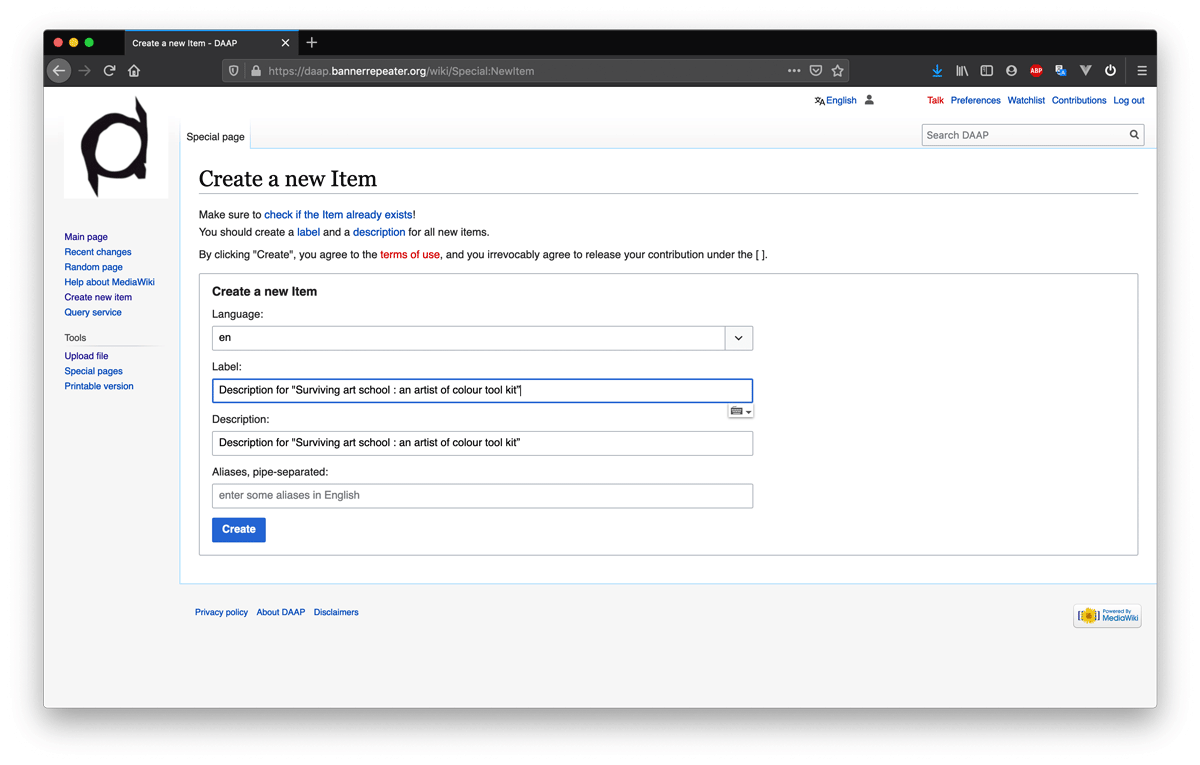
Enter text into the following fields:
Label: This will serve as the title for your Description page. Here, we have titled our page “Description for”, followed by the artwork’s title “Surviving art school: an artist of colour tool kit”.
Description: Here you add a brief description to accompany the Label you just entered. Here, we have opted to enter: “Description page for the publication Surviving art school: an artist of colour tool kit”.
You don’t need to add any aliases to Description Items. Please note: the Label and the Description cannot be identical entries.
Click “Create item”.
Step 3
You have successfully created a Description page for your Item.
We suggest working in multiple browser tabs to complete this Tutorial.
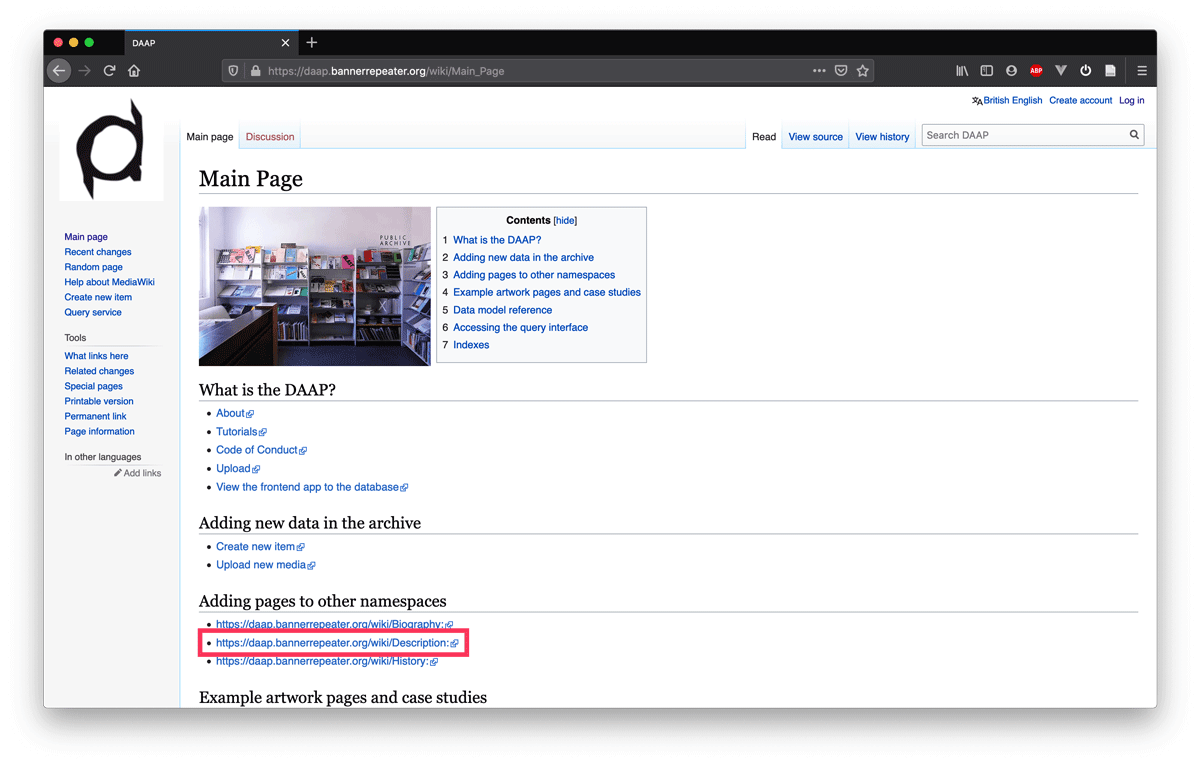
Open a new tab. Copy this link “[1]” and paste it in your newly opened tab.
Alternatively, find this link beneath the heading ‘Adding pages to other namespaces’ on the Main Page.
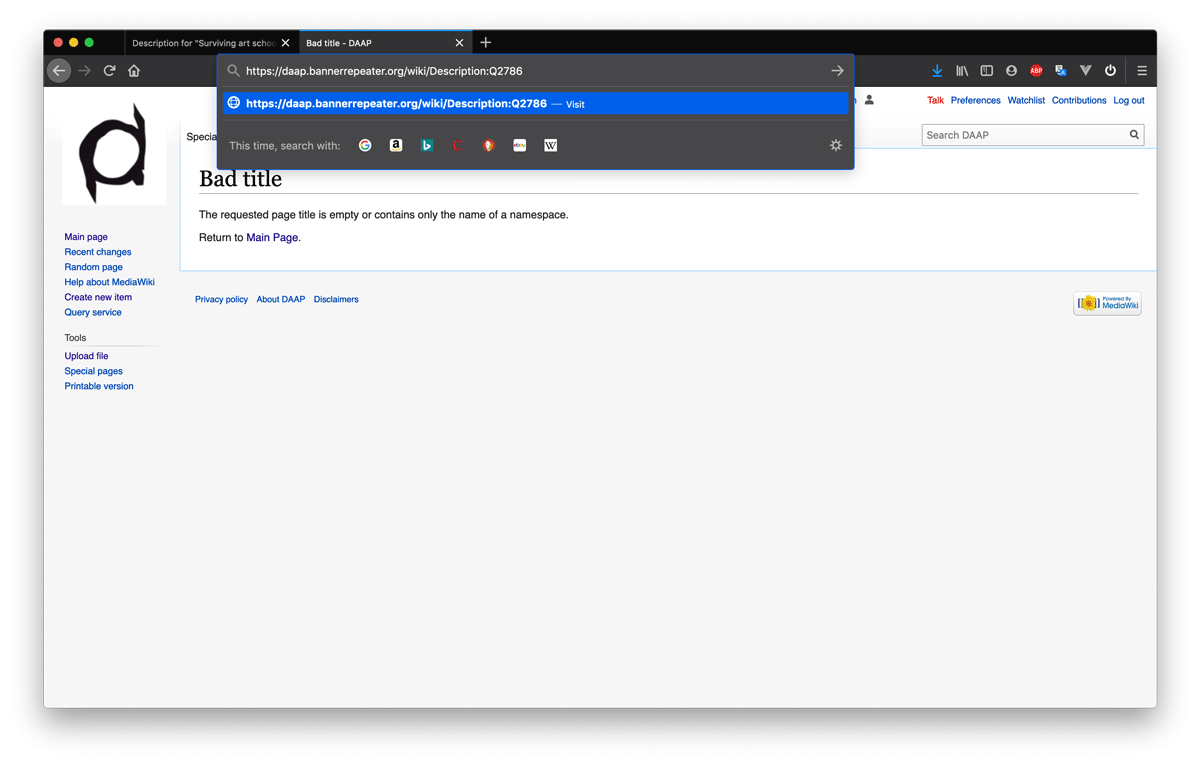
Place your cursor in the URL bar and immediately following the word “Description:” type in the Q number for your description Item. If you are keeping multiple tabs open, you should be able to easily switch to your first tab and note down the Q number.
Step 4
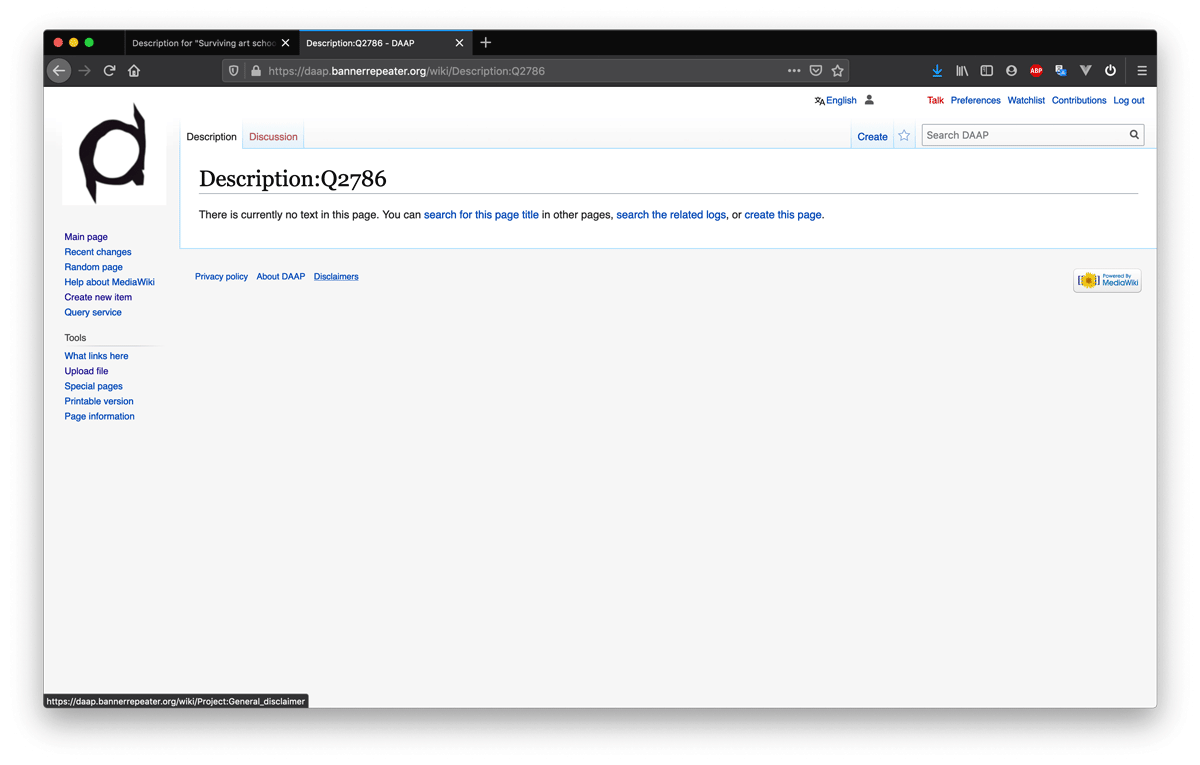
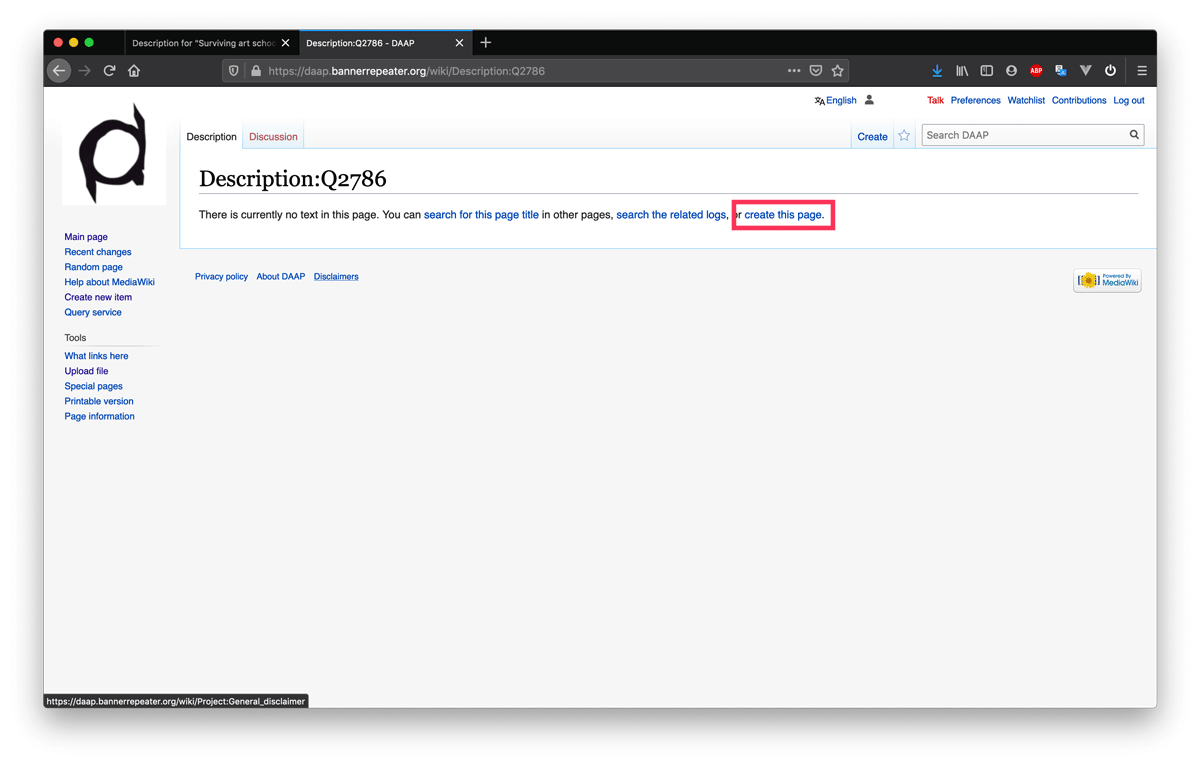
You will notice that the page is empty as indicated by the text “There is currently no text in this page”.
Click on the in-text link "create this page"
Step 5
Now you can enter a long-form text description in the first field.
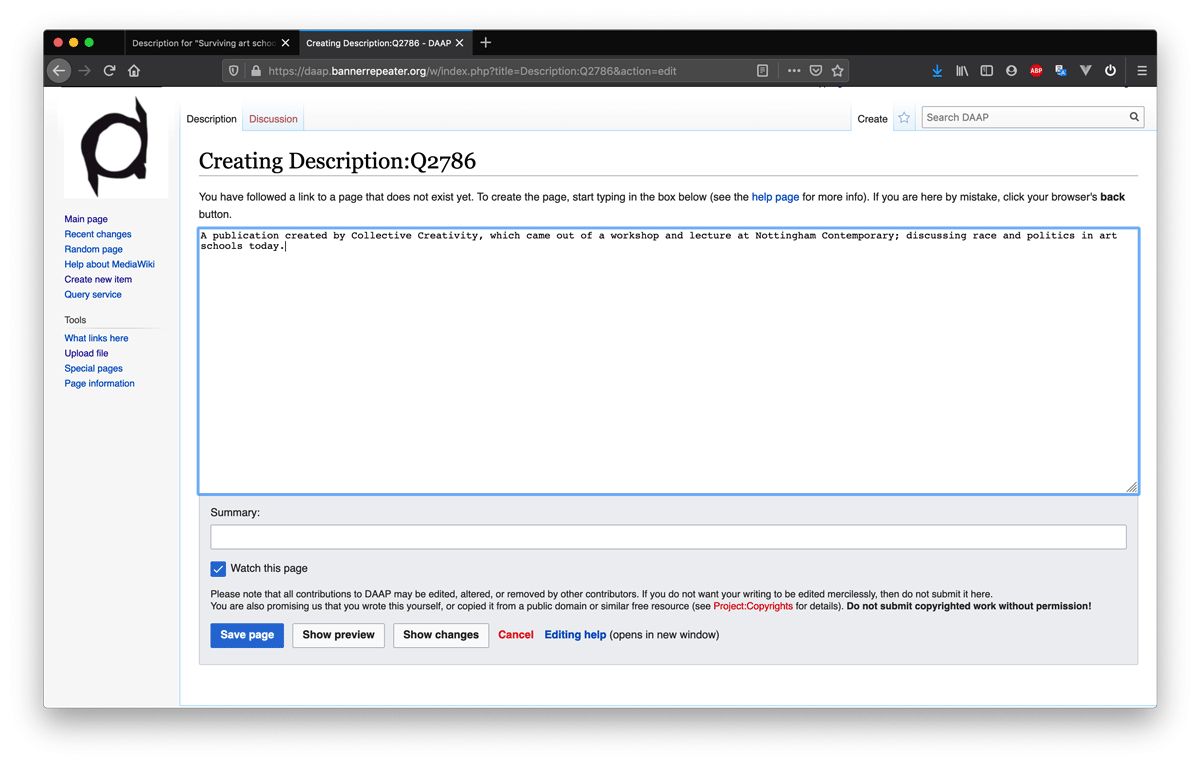
Click "Save page".
Step 6
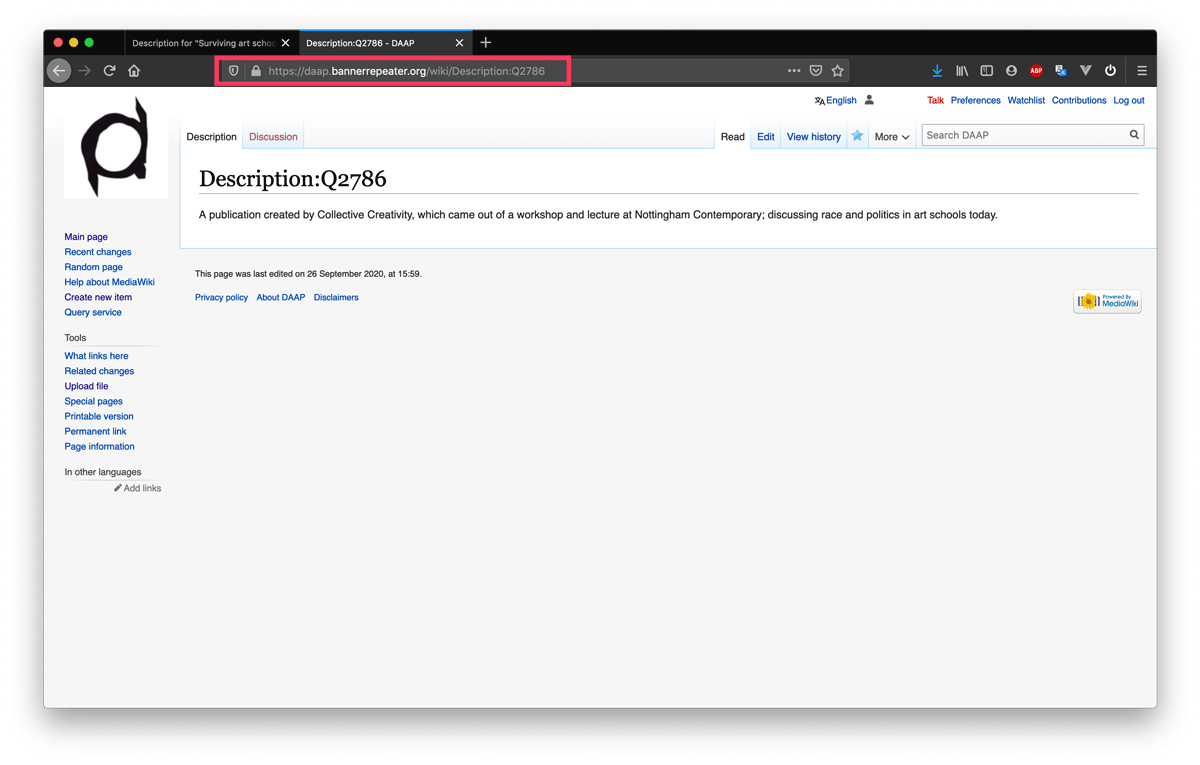
Copy the URL from the Description page you have just created.
Step 7
Return to the Description Page Item and click “+ add statement” .
Start typing “access URL” in the field for “Property”. Click on the suggestion to select it and auto-complete the text.
In the corresponding Value field, paste the URL of the Description Page.
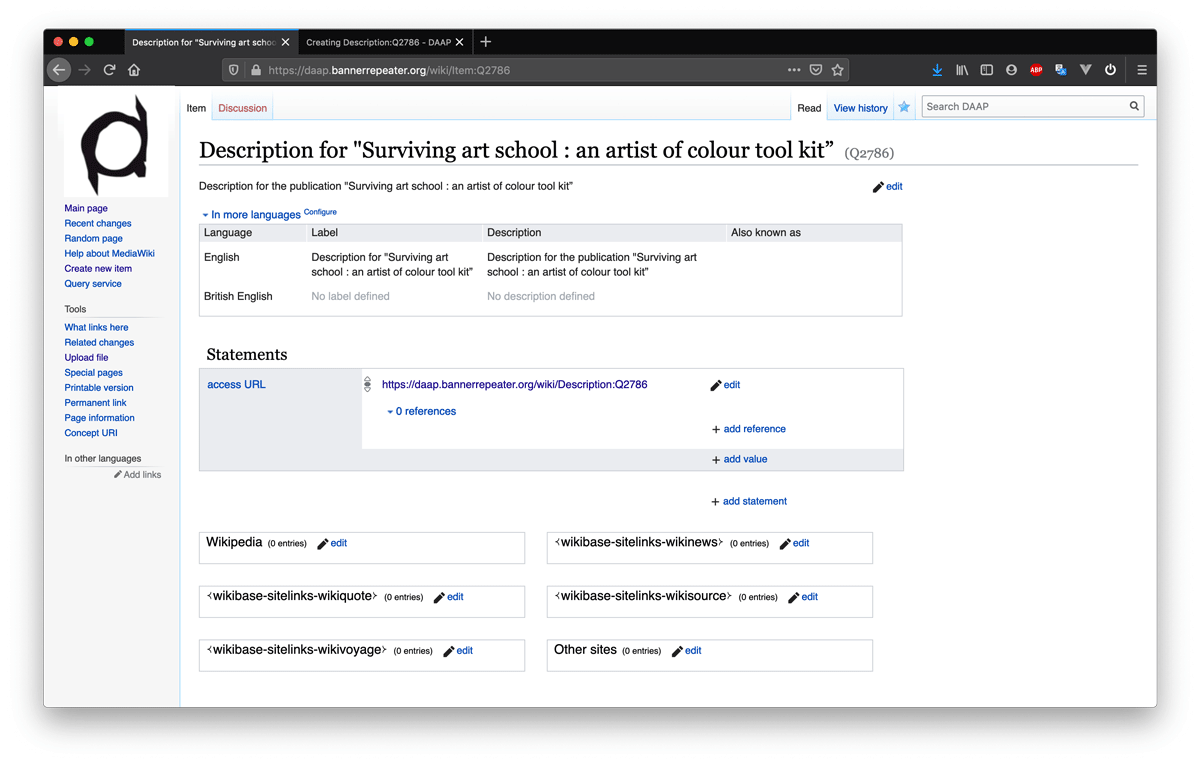
Click “save”.
Step 8
You can add further Statements to the Description Page Item in the same way as you have learned to do for other Item pages.
We suggest that you add a Statement to attribute the creators / contributors of the text. As before, click “+ add statement” then enter the Property “creators/contributors”. In the Value field, enter the names of the person(s) or organisation(s) who have written/provided the description text. If this is your own text, simply enter your own name here.
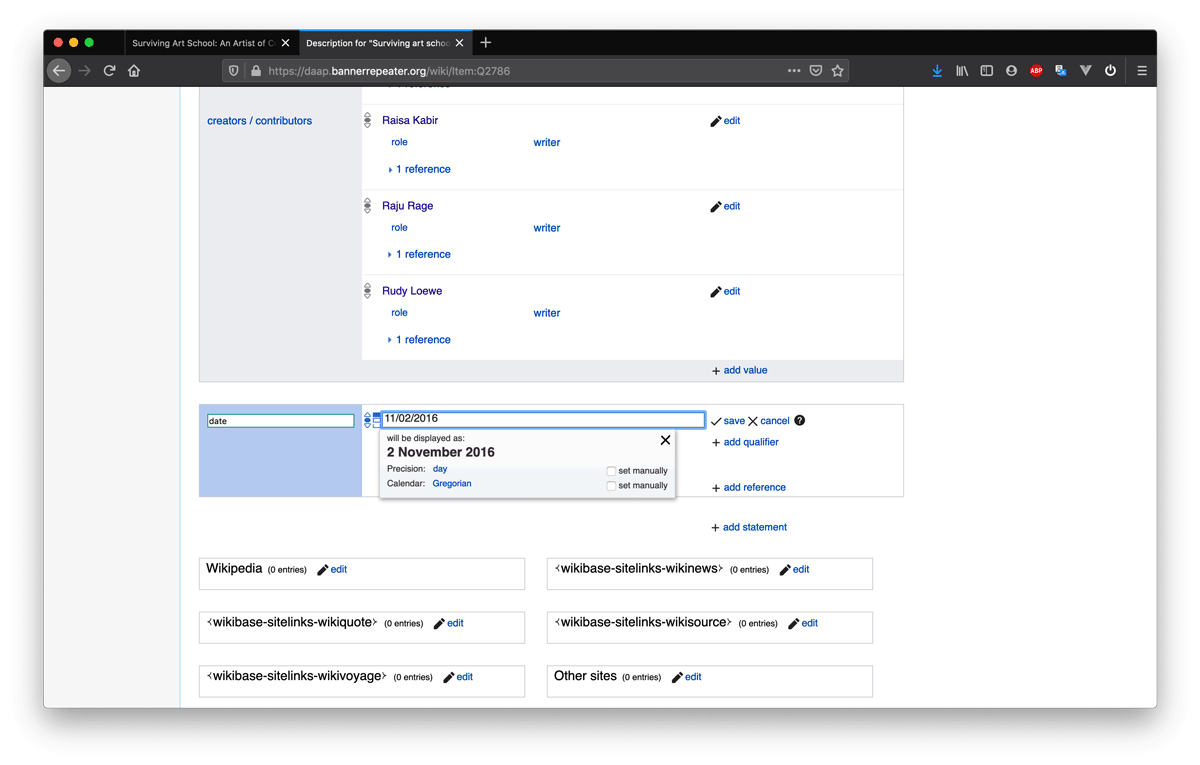
You may also wish to add a Statement to record the date on which the description text was written or published. To do this, click “+ add statement”, enter the Property “date”, and complete the Value field by typing in the date.
Step 9
Finally, link the newly created Description Item to the original Item page representing the published work itself.
We recommend opening both pages, in two separate tabs.
Navigate to the Item page, click “+ add statement”.
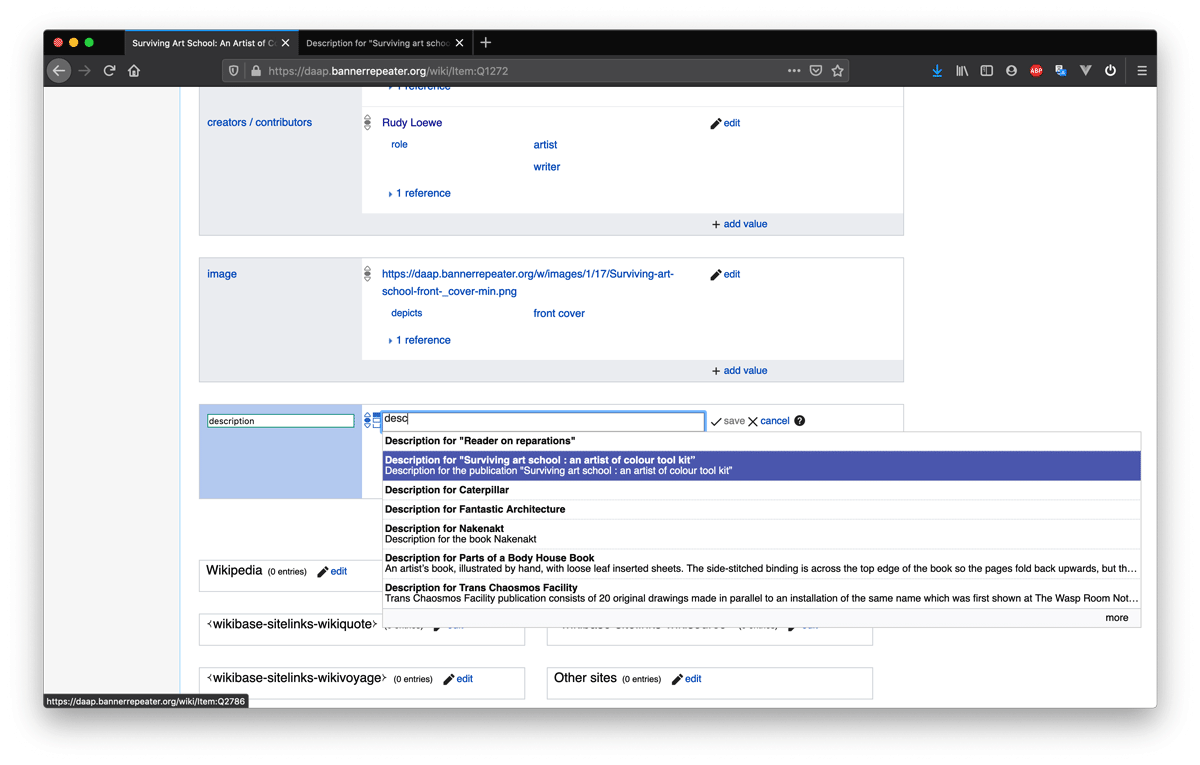
Begin typing the word "description" in the Property field. Click on the suggestion to auto-complete the text.
In the Value field start typing "Description for” and then continue typing the title of the work to locate the Description Item you created. Click on the suggestion to auto-complete the text.
Click “save”.
Congratulations, you have now added a long-form text Description to your Item page.
Follow the same steps if you want to add a biography to a person’s page or an anecdotal narrative concerning the exhibition or distribution history of the publication, don’t forget to use the respective Namespaces and connecting Properties.